
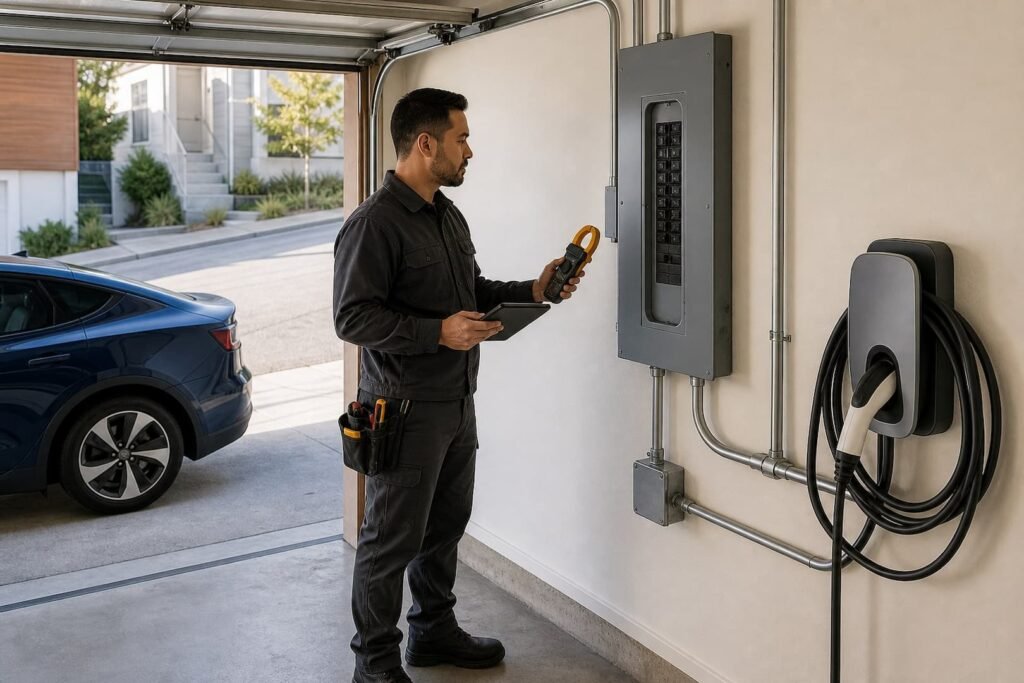
How Much Does It Cost to Install an EV Charger in San Francisco?
For a San Francisco home, a Level 2 EV charger installation is often a four-figure electrical project. The useful question is not “What does an electrician charge to hang the box?” It is “What has to happen between the service, the panel, and the parking space before that box can charge a car safely?”
As a planning range, allow roughly $1,200 to $2,500 for a straightforward installation when the charger is close to a panel that has space and verified capacity. Longer routes, difficult access, or added distribution equipment can move the electrical scope into the $2,500 to $5,000 range. A service change, substantial panel work, trenching, or major finish repair can take the project beyond that. These are budgeting bands, not a price list; the charger itself may be additional.
San Francisco’s current electrical permit fee schedule lists an EV charging station at the Category 3 rate. For equipment rated 225 amps or less, that base fee is $397. Other departments, plan review, unusual inspections, or a broader scope can add fees. The city’s own EVSE permitting information sheet also requires a load calculation in most new charger installations.
A practical cost table
| Typical scope | Planning range | What usually drives it |
|---|---|---|
| Simple wall-mounted charger | $1,200–$2,500 plus charger, when owner-supplied | Short visible route, available breaker space, adequate calculated capacity |
| Moderate residential installation | $2,500–$5,000 plus charger, when owner-supplied | Longer conduit, floor or masonry penetrations, compact subpanel, load-management hardware |
| Complex installation | Site-specific; often above $5,000 | Detached parking, trenching, extensive finish access, panel relocation, service upgrade, utility work |
Use those numbers to set expectations, not to compare bids by the bottom line alone. One proposal may include permit handling, inspection attendance, commissioning, and patching coordination. Another may cover only the branch circuit and mounting labor.
The eight cost drivers that matter
1. Charging current, not the marketing name
Level 2 describes a broad class of 208- or 240-volt charging. It does not tell the electrician whether the car will draw 16, 32, 40, or 48 amps. Because EV charging is treated as a continuous load, the branch circuit is larger than the charging current. Common pairings are 32-amp charging on a 40-amp circuit; 40-amp charging on a 50-amp circuit; and 48-amp charging on a 60-amp circuit.
A larger circuit uses larger conductors and may change the raceway, breaker, panel-capacity calculation, and installation method. The fastest setting advertised by the charger is not automatically the best value. A driver who parks for twelve hours and replaces 30 miles of driving each night may be well served by a lower setting.
2. Available capacity in the existing service
The number printed on the main breaker is only the start. An electrician needs the service rating, panel schedule, existing appliances, heating and water-heating loads, future electrification plans, and the charger’s configured output. San Francisco’s checklist calls for a load calculation and panel schedule for new EVSE work, except for the narrow case of plugging a cord-connected charger into a previously approved receptacle that already meets the manufacturer’s requirements.
If the calculation does not support the requested charging current, the answer is not always a service upgrade. A lower charger setting or a listed energy-management system may fit the driver’s needs while keeping the service within its limit. Our separate guide explains dynamic load management for EV charging in detail.
3. Distance and route from panel to parking
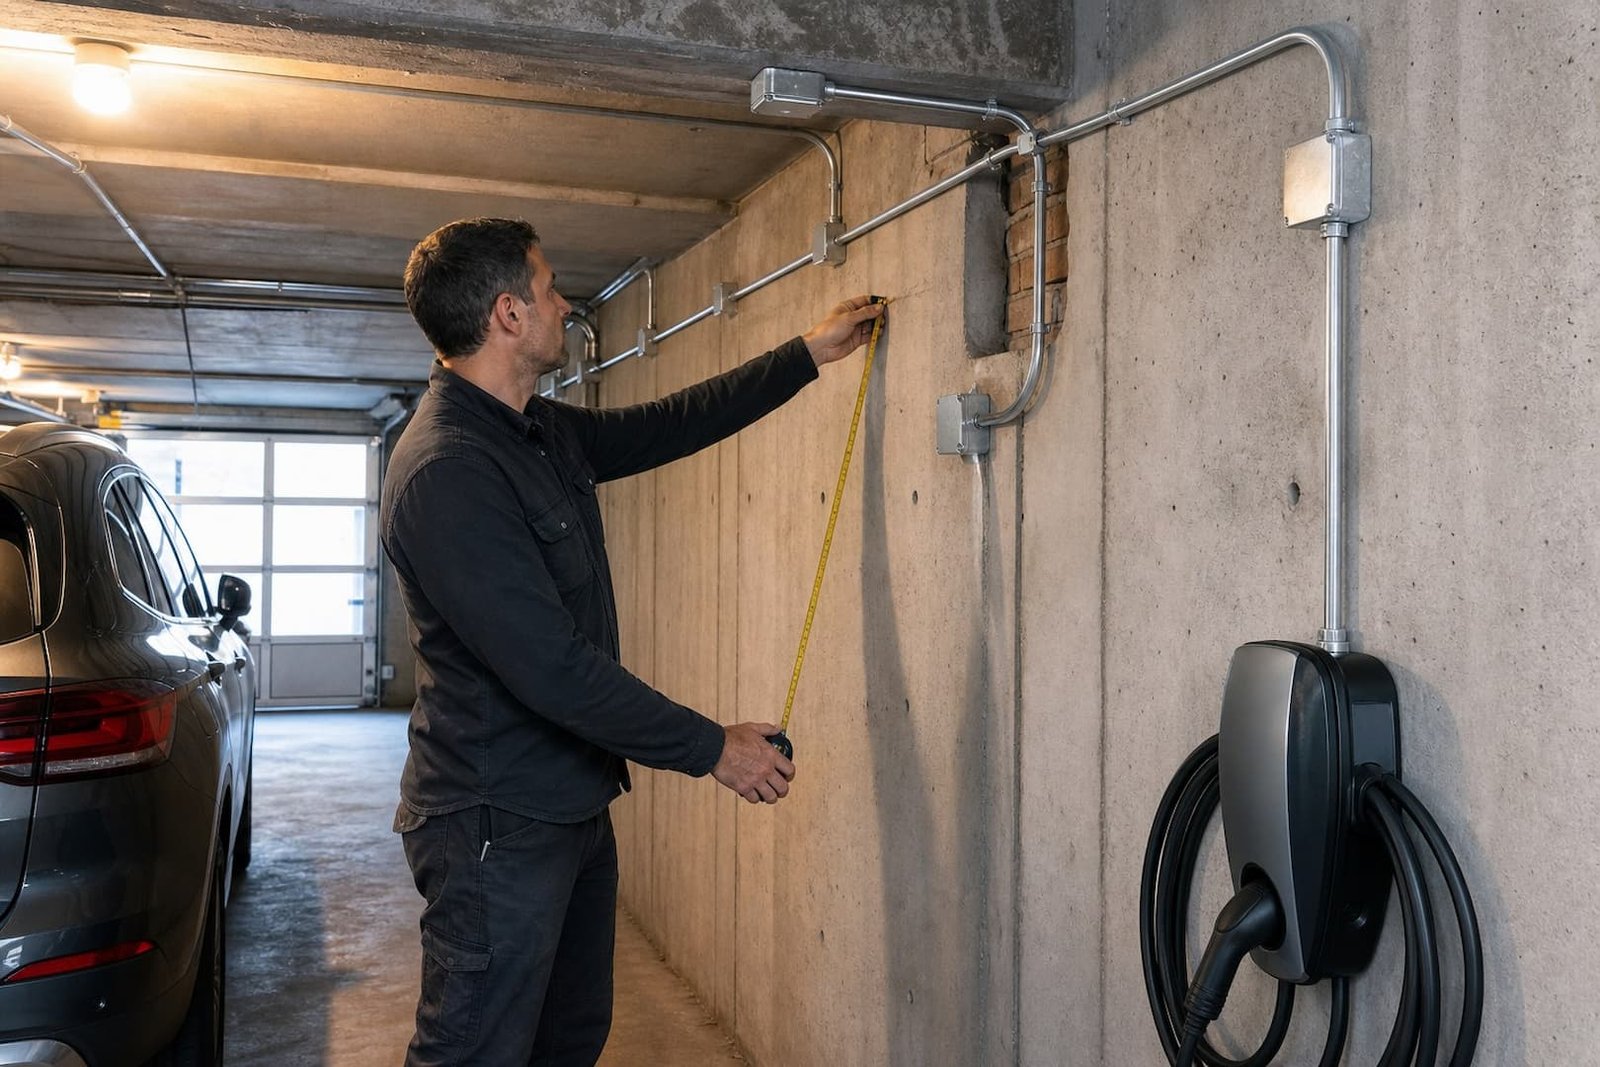
Conductor and conduit are bought by length, but distance also adds fastening, bends, pull points, penetrations, and labor. Ten unobstructed feet on a garage wall is a different job from forty feet across a finished lower level. A straight route that looks short on a floor plan may cross a fire-rated wall or a concrete beam.
4. Surface conduit, concealed cable, or trenching
Surface-mounted metal conduit is common in San Francisco garages because it is inspectable and avoids unnecessary plaster access. Concealed routing may look cleaner in a finished room, but opening and restoring walls adds trades and schedule. Detached garages can require an underground feeder, trenching, concrete work, or a new subpanel. That civil work can cost more than mounting the charger.
5. Hardwired charger or receptacle
A hardwired charger removes the plug-and-receptacle connection and supports many higher-output units. It also reduces the number of high-current contact points. A receptacle offers portability, but every component and the charger instructions have to match. It should not be treated as an ordinary dryer outlet with a convenient location.
The cheapest initial configuration may be wrong when the plug will be handled daily or exposed outdoors. It also fails when the manufacturer requires hardwiring at the desired output. Compare complete assemblies, not just the cost of a receptacle versus a junction box.
6. Panel space and equipment condition
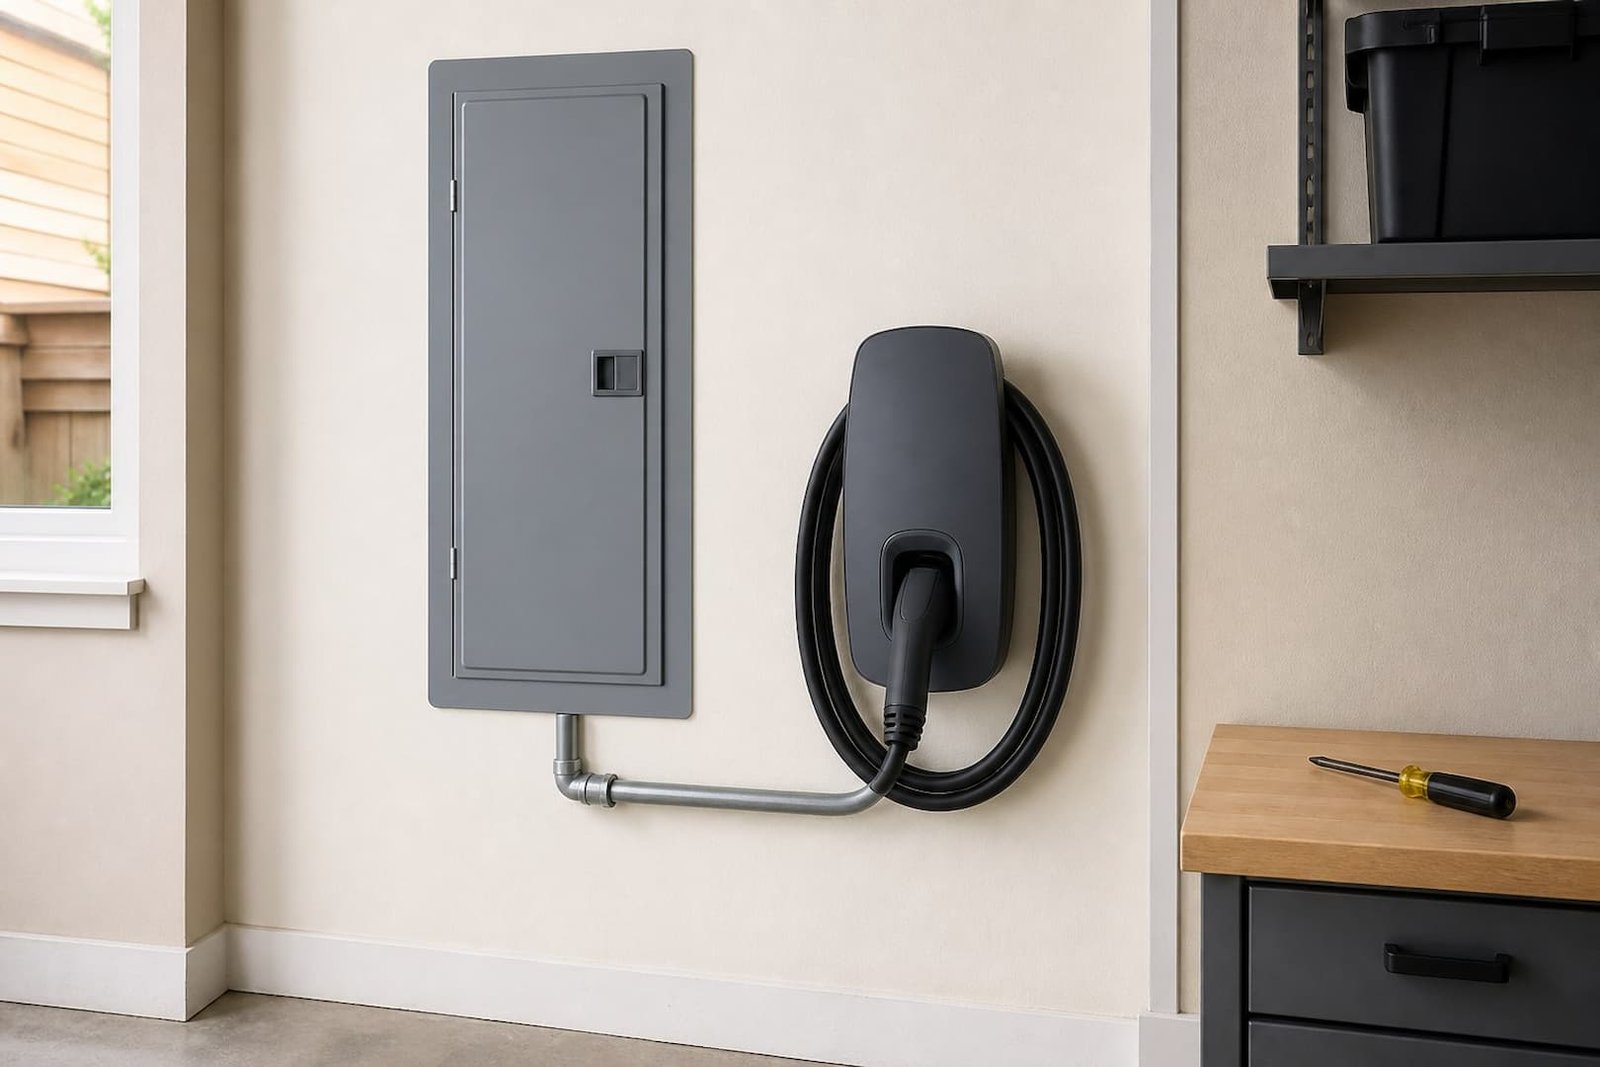
A panel can have electrical capacity yet lack a suitable breaker position. Sometimes the answer is a listed tandem arrangement or a compact subpanel. In other homes, corrosion, obsolete equipment, damaged bus components, or a crowded installation makes broader work sensible. A charger quote should distinguish “no room” from “not enough service capacity”; they are different problems with different costs.
7. Permit, plans, and inspection
A licensed electrical contractor registered with San Francisco DBI can obtain an electrical permit for a qualifying single Level 1 or Level 2 installation. Other situations may require a building permit and further review. Parking used by the public, employees, or guests can introduce accessibility review. Battery storage or ventilation widens the scope, as can modifications to the building itself.
The base permit fee is visible. The contractor’s time to prepare the application, supply calculations, coordinate the inspection, and correct a pre-existing condition is not. A complete proposal should say who handles each item.
8. Building ownership and parking rights
A single-family garage is usually the shortest decision path. Condominiums, apartment buildings, and shared garages require answers about the parking space, common-area routing, metering, billing, future chargers, and approval. The electrical installation might be modest while the design and coordination are not. Start with our San Francisco condo and HOA EV charging guide if the circuit crosses common property.
What a complete quote should include
- Charger model, connection method, and configured charging current
- Load-calculation assumption and any future loads included
- Breaker, conductor, raceway, disconnect, receptacle, and enclosure scope
- Approximate route and whether work is surface-mounted or concealed
- Permit procurement and inspection coordination
- Commissioning, Wi-Fi setup if applicable, and a charging test
- Wall, ceiling, paint, concrete, trench, or firestopping exclusions
- Responsibility for utility coordination if the service changes
- Labor and equipment warranty terms
Ask what would change the price after work begins. A good answer names a condition: an inaccessible crawlspace, an undocumented feeder, concrete where a framed wall was expected, or a failed panel component. “As needed” without a unit cost or decision rule is hard to budget.
When a panel or service upgrade is really part of the job
A panel replacement can address damaged or obsolete equipment and a shortage of breaker spaces. It can also correct distribution problems. It does not necessarily increase the utility service. A service upgrade changes the capacity supplied to the property and may involve the meter, service conductors, utility approval, exterior equipment, and building finishes.
Before adding either cost, compare four paths:
- Configure the charger at a lower current that still replaces daily driving.
- Use compatible, listed dynamic load management.
- Correct distribution limitations with a subpanel or panel replacement.
- Increase the electrical service when the present and planned loads justify it.
PG&E advises customers to obtain an electrical assessment before requesting a service change for Level 2 charging. If an upgrade is needed, utility timing and cost follow their own process. See Max Electric’s electrical power increase service for the construction side of that work.
How to lower the cost without buying the wrong installation
- Choose the parking-side wall nearest the electrical source. A different charger location can remove bends and penetrations.
- Size for the driving pattern. Maximum output has little value if the car sits overnight and the service is constrained.
- Decide on the charger before the permit. The contractor needs its installation instructions and electrical rating.
- Bundle planned electrical work carefully. A future heat pump, ADU, or induction range belongs in the load discussion before a new panel is selected.
- Keep the route accessible. Clearing storage and confirming parking access saves site time; it does not replace a survey.
- Compare scope, not one number. Permit, materials, firestopping, commissioning, and finish repair should not disappear from the comparison.
Information to send for a useful remote budget
- A clear photo of the full panel and one close photo with the door open
- The main breaker rating and panel label, if readable
- Charger make, model, and desired charging current
- Photos showing the entire route from panel to parking
- An approximate route length, including vertical travel
- Whether the garage is private, shared, detached, or part of an HOA
- Known plans for solar, battery storage, an ADU, heat pumps, or other large loads
Photos can support a budget range. They cannot confirm concealed conditions or replace the load calculation needed for the final design.
Frequently asked questions
Does the installation price include the charger?
Not always. Some contractors quote an owner-supplied charger; others supply the hardware. Confirm the exact model and whether sales tax, shipping, commissioning, and manufacturer registration are included.
Can I use an existing 240-volt outlet?
Only after confirming that the receptacle, circuit, breaker protection, conductor size, condition, and charger plug meet the manufacturer’s requirements. San Francisco’s permit exception applies to a plug-in residential charger using a previously approved receptacle; it does not turn an unknown outlet into an EV-ready circuit.
Is a 200-amp service required for Level 2 charging?
No single service size answers the question. A load calculation and the requested charging current determine whether the existing service can support the added load. Many homes can use Level 2 charging below the charger’s maximum setting.
Why do two quotes for the same charger differ so much?
They may assume different routes, current settings, permit responsibilities, panel work, conductor materials, or finish restoration. Ask each bidder to identify the charger output, route, inclusions, and exclusions on the proposal.
How long does installation take?
A simple branch circuit can be installed in a working day after the permit is ready. Service work, an HOA approval, trenching, or multi-trade repairs extend the schedule. Inspection occurs on the city’s timetable.
Get a scope-based EV charger estimate
Max Electric installs permitted home EV charging equipment in San Francisco. Start with the EV charger installation service page, or call (415) 867-7006. We will ask about the vehicle, charger, panel, route, parking rights, and future loads before recommending a circuit size.
Last reviewed August 2026. Permit fees and utility procedures can change; verify them for the project address before construction.